Technique & Science
The Windowpane Test: How to Check Gluten Development
Learn how to do the windowpane test to check gluten development and know exactly when your dough is kneaded enough.
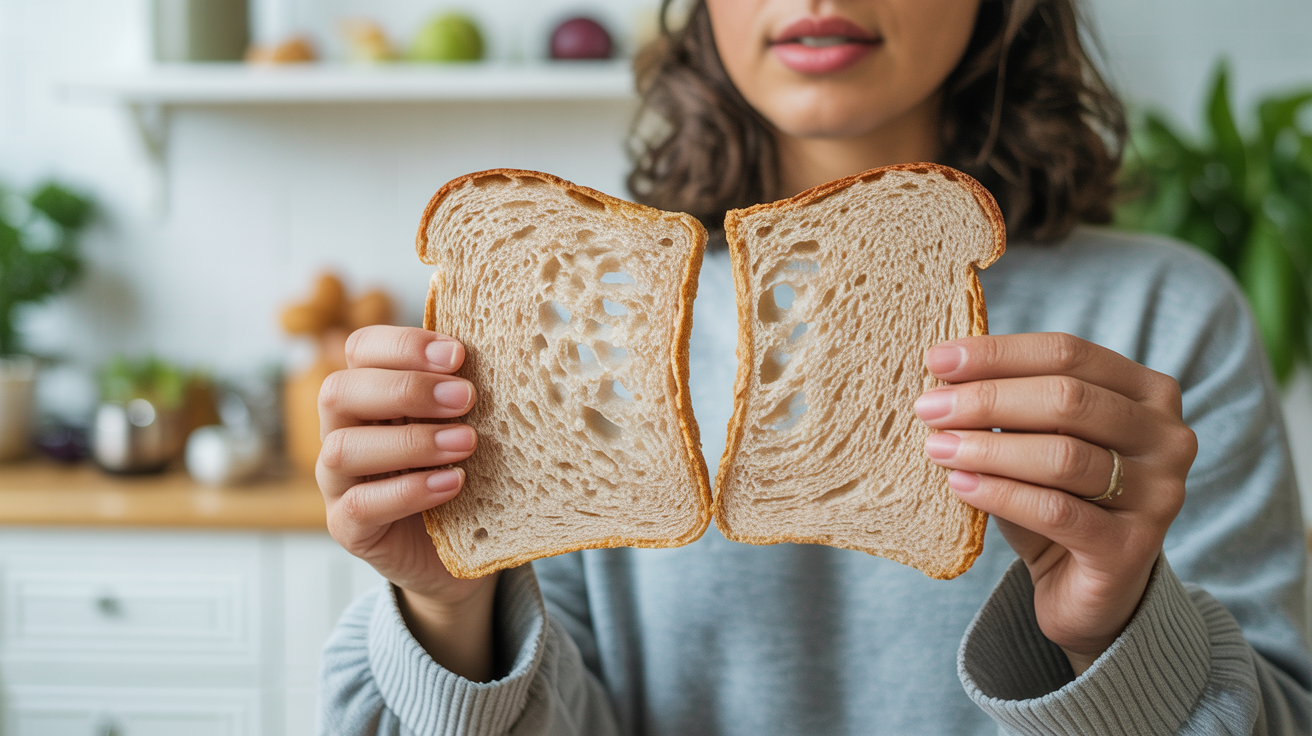
Pull off a small piece of dough, hold it between your fingers, and slowly stretch it toward the light. If it spreads into a thin, translucent membrane without tearing, your gluten is developed and your dough is ready to rise. If it rips almost immediately, you need more kneading.
That is the windowpane test in a single sentence. The rest of this article explains what is actually happening inside the dough, how to read the result correctly, and what to do when the test fails.
What the Test Actually Tells You
Gluten is a protein network that forms when flour and water are mixed and worked together. Two proteins in wheat flour, glutenin and gliadin, link up and become elastic as you knead. The longer and more vigorously you work the dough, the more those proteins align and connect into a strong, flexible mesh.
That mesh is what the windowpane test reveals. When gluten is well-developed, the protein network is tight enough to stretch very thin without breaking. Light passes through it because the layer of dough is so even and continuous. When gluten is underdeveloped, those protein strands have not bonded well yet, so the dough tears before it can thin out.
Beyond telling you the dough is "ready," knowing your gluten is developed means a few things will go right during fermentation and baking. The dough will hold the gas from yeast activity without collapsing. The crumb will have structure and chew. The crust will have something to spring from in the oven.
This is closely related to dough hydration: a higher-hydration dough feels slacker and wetter, which can make the windowpane harder to achieve through conventional kneading, though it will develop structure in a different way (more on that below).
How to Do the Windowpane Test Step by Step
The mechanics of the test are simple, but a few small details make it easier to read accurately.
-
Stop kneading first. Let the dough rest for 2 to 3 minutes before testing. Gluten that is actively under tension from kneading will feel tighter than it really is. A brief rest gives you a more accurate reading.
-
Pinch off a small piece. About the size of a large marble. You do not need much.
-
Flatten it slightly. Use your fingers to press it into a rough disk. This makes the next step easier.
-
Stretch slowly and evenly. Hold the dough between the thumbs and index fingers of both hands, close to the center. Pull your hands apart gently while rotating the dough a quarter turn at a time. The goal is to thin it out without tearing it from stress concentrated in one spot.
-
Hold it up to a light source. A window or a lamp works fine. You are looking at how thin the dough can get before it tears.
If you tear the dough accidentally while stretching (too fast, too much in one direction), just grab a fresh piece and try again. One bad stretch does not mean the dough is underdeveloped.
How to Read the Result
| What you see | What it means |
|---|---|
| Thin, even membrane. Light passes through. No tears. | Gluten is well-developed. Dough is ready. |
| Stretches a bit but tears with thick, ragged edges. | Gluten is partially developed. Keep kneading. |
| Tears immediately with almost no stretch. | Gluten is barely developed. Significant kneading still needed. |
| Stretches thin but with small pinholes. | Close to ready. A few more minutes of kneading should close them. |
A true pass looks almost like thin plastic wrap. You can see the light clearly and the membrane is fairly uniform in thickness. Small bubbles trapped in the dough may be visible too, which is normal.
Do not expect the membrane to be perfectly clear like glass. Even well-developed dough has some opacity to it. What you are really checking for is that thin-without-tearing quality.
What to Do If the Dough Fails
Keep kneading. That is the straightforward answer. How long depends on how far off the result was.
If the dough tore with thick edges and had a little stretch, you probably need another 3 to 4 minutes of kneading. Test again after that.
If the dough tore almost immediately, you have more work ahead. Knead for 5 minutes, rest for 2, then test again. Repeat until you get a pass.
One thing worth knowing: the dough will feel smoother and less sticky as gluten develops. Those surface changes are good signals, but they are not as reliable as the windowpane test itself. The test is the most direct way to check gluten development because it measures the actual structural outcome, not just texture.
If you are hand-kneading and not sure whether your technique is efficient, it helps to review how to knead bread dough by hand and know when it's done. The motion matters: push, fold, and turn, rather than just pressing down repeatedly.
When the Windowpane Test Does Not Apply
The test works well for most standard bread doughs: sandwich loaves, dinner rolls, pizza dough, enriched doughs like brioche. It does not work well in a few situations.
Very high-hydration doughs. A dough at 80% or higher hydration (like many ciabattas or open-crumb sourdoughs) is simply too wet and slack to pick up and stretch by hand. Gluten in those doughs develops through a different method: time plus a series of stretch-and-folds during bulk fermentation. You can do a modified version of the windowpane test with wet dough by stretching a corner of the dough in the bowl, but the result is harder to read and less reliable.
No-knead doughs. These are intentionally low-effort recipes that rely on a long, slow fermentation (often overnight) to develop gluten. The test would fail early on and pass much later, but because you are not kneading, it is not a useful progress marker. Just follow the timing in the recipe.
Rye doughs. Rye flour has very little gluten-forming protein and a high proportion of compounds called pentosans that interfere with gluten network formation. A rye dough will never pass a proper windowpane test, and that is by design. Rye bread has a different structure that does not depend on a strong gluten network.
Whole wheat doughs. These can pass the windowpane test, but the bran particles in whole wheat flour cut gluten strands as you knead. A whole wheat dough may look like it is tearing when it actually has decent gluten; the membrane will just have more ragged edges than white bread dough. Expect a less pristine result and focus on whether it stretches thin rather than whether it looks perfectly clear.
Understanding these limits comes back to knowing your recipe. Baker's percentages give you a clear way to see a dough's hydration and flour composition at a glance, which tells you upfront whether the windowpane test is the right tool to use.
Frequently Asked Questions
How long should I knead before testing?
For a typical white bread dough mixed by hand, start testing around the 8-minute mark. For a stand mixer with a dough hook on medium speed, test around 6 minutes. These are starting points, not guarantees. The test is more useful than any time estimate because flour brands, kitchen temperature, and kneading force all affect how quickly gluten develops.
Can I do the windowpane test with a wet or sticky dough?
You can try, but it is harder. Lightly oil your fingertips (not flour them) before handling the dough. Oil lets you stretch without adding flour, which would change the dough's composition. If the dough is too wet to handle in a piece, do a bowl version: grab one corner of the dough and lift it up from the bowl. If it stretches 8 to 10 inches before tearing, gluten is developing well.
My dough passed the test but the bread still came out dense. What happened?
Gluten development is one variable among several. Dense bread is usually caused by under-proofing (not enough fermentation time), using yeast that is no longer active, shaping too tightly and degassing the dough, or baking without enough heat. A passed windowpane test means the dough had good structure going in. If the bread was still dense, look at what happened during fermentation or baking rather than the kneading step.
Does the windowpane test work for sourdough?
Yes, for most sourdough recipes made with white or bread flour at moderate hydration. The process is the same. Sourdough dough tends to need slightly longer development because the fermentation starts before gluten is fully built, and the acidity from the starter can affect gluten strength over time. Test it the same way, but be aware that a bulk fermented sourdough near the end of proofing may feel softer and more fragile than it did right after kneading.
What does it feel like when the dough is ready?
Beyond the visual result, a fully developed dough has a smooth surface and a subtle elasticity. When you poke it, it springs back slowly. It should pull away from the bowl or work surface cleanly. The dough feels alive in a way that underdeveloped dough does not. These are impressionistic signs, but once you have felt a well-developed dough, you will recognize it again.