Technique & Science
How to Knead Bread Dough by Hand (and Know When It's Done)
Learn how to knead dough by hand with the push-fold-turn method, plus how long it takes and the signs that tell you it's ready.
Kneading is the part of bread baking that most beginners dread, and also the part they tend to rush. But it's not complicated once you understand what you're actually doing. When you knead dough, you're aligning long chains of gluten protein so they form a stretchy, elastic network that can trap the gas your yeast produces. No gluten network, no rise. No rise, no bread.
The good news: you don't need a stand mixer. Kneading bread by hand takes about 10 to 12 minutes, and your hands give you far better feedback than any machine. You'll feel exactly when the dough changes.
What Kneading Actually Does to Your Dough
Flour contains two proteins, glutenin and gliadin, that combine with water to form gluten. At first, that mix is shaggy and sticky. Kneading works the gluten in two ways: it hydrates and aligns the protein strands, and it warms the dough slightly, which makes the gluten more extensible.
The result is dough that goes from rough and tearing to smooth and elastic. Properly developed gluten holds its shape under tension rather than ripping. That strength is what gives a loaf its structure and chew.
This matters a lot more for some breads than others. A high-hydration sourdough builds gluten through folds and time. A tight sandwich loaf needs active kneading to get where it needs to go in a reasonable window. Understanding what dough hydration is and why it matters will help you gauge how much kneading any given recipe actually requires.
The Push-Fold-Turn Method (Step by Step)
This is the classic kneading technique, and it works for most standard doughs at 60 to 70 percent hydration.
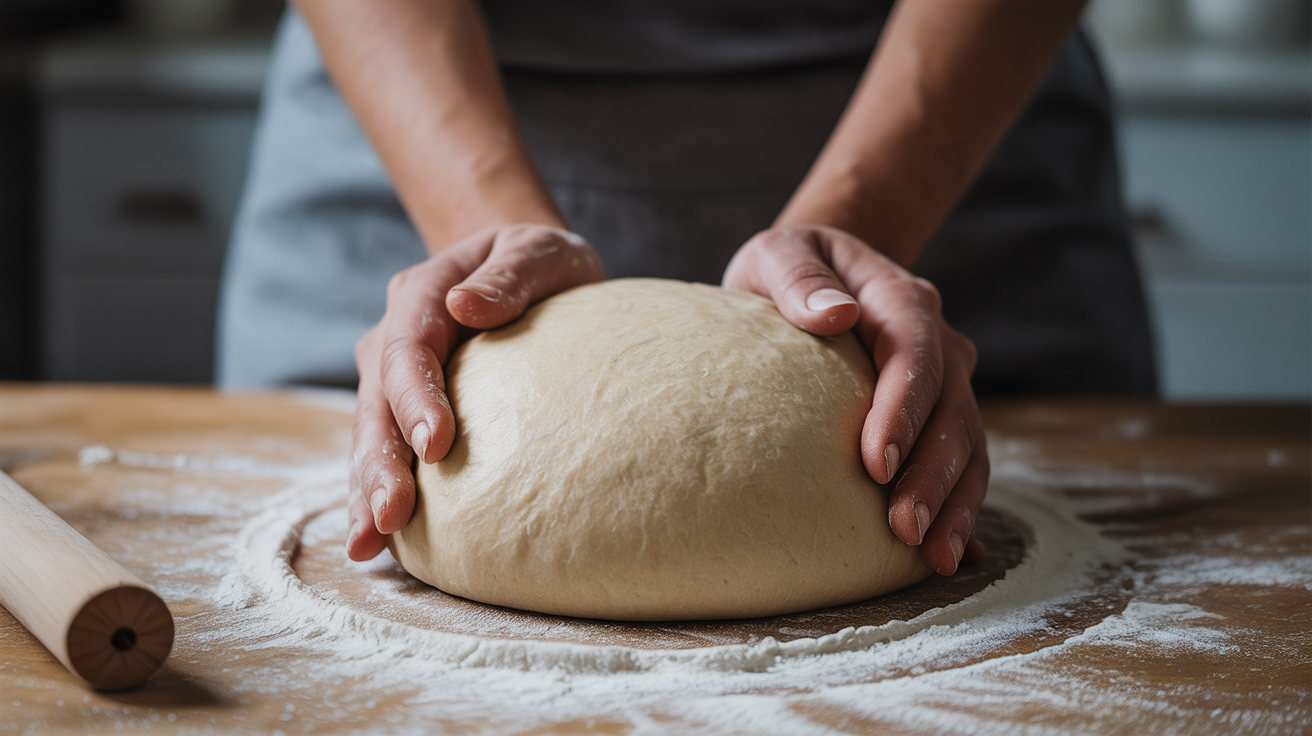
Set up first. Lightly flour a clean work surface. Too much flour dries the dough out; you want just enough to prevent sticking. Have a bench scraper handy to peel the dough off the surface if it sticks early on.
The motion itself:
- Place the dough in front of you and press the heel of one hand into the center of the mass, pushing it away from you.
- Fold the far edge of the dough back over itself toward you.
- Rotate the dough 90 degrees.
- Repeat.
That's the whole cycle: push, fold, turn. You're not tearing or stretching aggressively. The pressure comes from the heel of your hand, not your palm or fingers.
Keep the rhythm consistent. A steady pace, roughly one cycle every two or three seconds, develops the dough more evenly than sporadic hard pushes. If the dough sticks badly, scrape it up, give the surface a light dust, and continue. Resist the urge to add more flour than necessary.
In the first two or three minutes, the dough will feel rough, tear easily, and probably stick to your hands. This is normal. Keep going.
When You're Kneading High-Hydration Doughs
Stiff doughs (think dinner rolls or brioche) respond well to the push-fold-turn method above. Softer doughs, say anything above 70 percent hydration, tend to just stick to the work surface and your hands when you try to knead them the same way.
For those, slap-and-fold works better.
Slap-and-Fold: A Kneading Technique for Wetter Doughs
The slap-and-fold (sometimes called the French method) sounds more dramatic than it is. You're still developing gluten; you're just using momentum instead of friction.
- Lift the dough with both hands, holding the near edge.
- Slap the far side down onto the work surface.
- Fold the near edge (which is now in the air) over the slapped-down portion.
- Pick up, rotate, repeat.
The slap creates surface tension. The fold builds structure. You'll feel the dough go from a floppy, almost pourable mass to something that holds a rough shape between slaps.
This method is more physically demanding for the first couple of minutes, but the dough transforms faster. Most bakers switch to gentler folds once the dough tightens up.
How Long to Knead Dough by Hand
Expect 10 to 12 minutes for most standard recipes. That's not a hard rule but a realistic baseline. A few things affect it:
- Hydration. Wetter doughs often need less active kneading because water helps gluten form on its own.
- Flour type. Bread flour has more protein than all-purpose, so it develops faster and stronger.
- Autolyse. If your recipe calls for a 20 to 30 minute rest after mixing flour and water (before adding salt and yeast), you'll cut kneading time roughly in half. The gluten has a head start.
- Your technique. A firm, consistent rhythm develops the dough faster than irregular, hard squeezing.
Don't rely only on the clock. Use the clock as a rough checkpoint, then check the dough. Which brings us to the real question.
How to Tell When Kneading Is Done
The Windowpane Test
This is the most reliable way to check gluten development. Pinch off a small piece of dough (about the size of a grape), then slowly stretch it between your thumbs and fingers, working from the center outward. You're trying to stretch it thin enough to see light through without it tearing.
If the membrane holds and you can see light through it without a hole forming, your gluten is developed. If it tears immediately, keep kneading. Check again in two or three minutes. A full breakdown of this check, including what the membrane should look like at different stages, is covered in the windowpane test guide.
Visual and Tactile Signs
Beyond the windowpane test, properly kneaded dough looks and feels distinctly different from under-kneaded dough. Here's a comparison:
| Sign | Under-kneaded | Properly kneaded | Over-kneaded |
|---|---|---|---|
| Surface texture | Rough, ragged | Smooth, slightly tacky | Tight, stiff |
| Tear test | Rips with no resistance | Stretches before tearing | Tears abruptly, feels rubbery |
| Shape retention | Slumps flat quickly | Holds a dome shape | Very stiff, hard to shape |
| Windowpane | Tears immediately | Holds thin membrane | May hold but feels dry |
| Dough temp | Cool | Slightly warm (24-27°C / 75-80°F) | Hot, may feel greasy |
Over-kneading by hand is genuinely difficult. You'd have to knead for 25 to 30 minutes continuously to get there. If you're using a stand mixer on high speed, over-kneading is a real risk. By hand, you're almost always safe to keep going if you're not sure.
The Poke Test (a Useful Secondary Check)
Press two fingers about half an inch into the dough. Watch how it responds. If it springs back slowly and mostly fills in, the dough is ready. If the indent stays, it's under-developed. If it snaps back immediately, you may be over-kneaded, though this is rare by hand.
A Note on Resting and Autolyse
If you're finding kneading exhausting or the dough keeps snapping back before you can shape it, give it a five minute rest covered with a damp towel. Gluten relaxes quickly. You'll find it extensible again when you pick it back up. This isn't cheating, it's how professional bakers work.
The autolyse technique goes a step further. Mix just the flour and water from your recipe, skip the salt and yeast, and let it sit for 20 to 30 minutes before adding the remaining ingredients and kneading. The gluten network forms on its own during that rest, and your actual kneading time drops significantly. Many home bakers find this makes a noticeable difference in how manageable the dough feels. If your recipe uses percentages rather than weight, baker's percentages explained covers how to read and scale those formulas without a calculator.
Frequently Asked Questions
Can I under-knead on purpose and just let time do the work?
Yes, with some caveats. Long, cold fermentation (a slow overnight proof in the fridge) develops gluten without much kneading. This works well for wetter, rustic doughs. For enriched breads (milk bread, brioche, soft sandwich loaves), you generally need real kneading because the fat in the recipe coats the gluten strands and slows development. Time alone won't get you there.
My dough is sticky and keeps tearing. What am I doing wrong?
Usually nothing. Early kneading is supposed to be messy. Give it two more minutes before adding flour. The gluten is still forming and the dough will tighten up on its own. Adding too much flour at this stage dries the dough and makes the final loaf dense and tough.
Does kneading on a wooden board vs. marble or steel matter?
Mostly no. The surface material doesn't change the physics of gluten development. Marble stays cooler, which some bakers prefer for enriched doughs that shouldn't get too warm. A plain wooden board or laminate countertop works fine for everyday breads.
How do I know if I've over-kneaded?
By hand, this is rare. You'd feel it: the dough becomes very stiff, resists stretching, and may start to feel slightly greasy or hot. If you're kneading by hand and this happens, rest the dough for 10 minutes and check again. It's more likely the dough is just tight and needs to relax, not that it's genuinely over-kneaded.
Does bread always need kneading?
No. No-knead recipes (like the overnight cast-iron loaf that's become popular over the last couple of decades) use high hydration, a long ferment, and minimal handling to develop structure. The tradeoff is time: what kneading does in 10 minutes takes 12 to 18 hours passively. Both approaches work. Knowing how to knead gives you more flexibility and makes you a better judge of dough regardless of which method you use.