Getting Started
A Beginner's First Month of Bread Baking: A Simple Plan
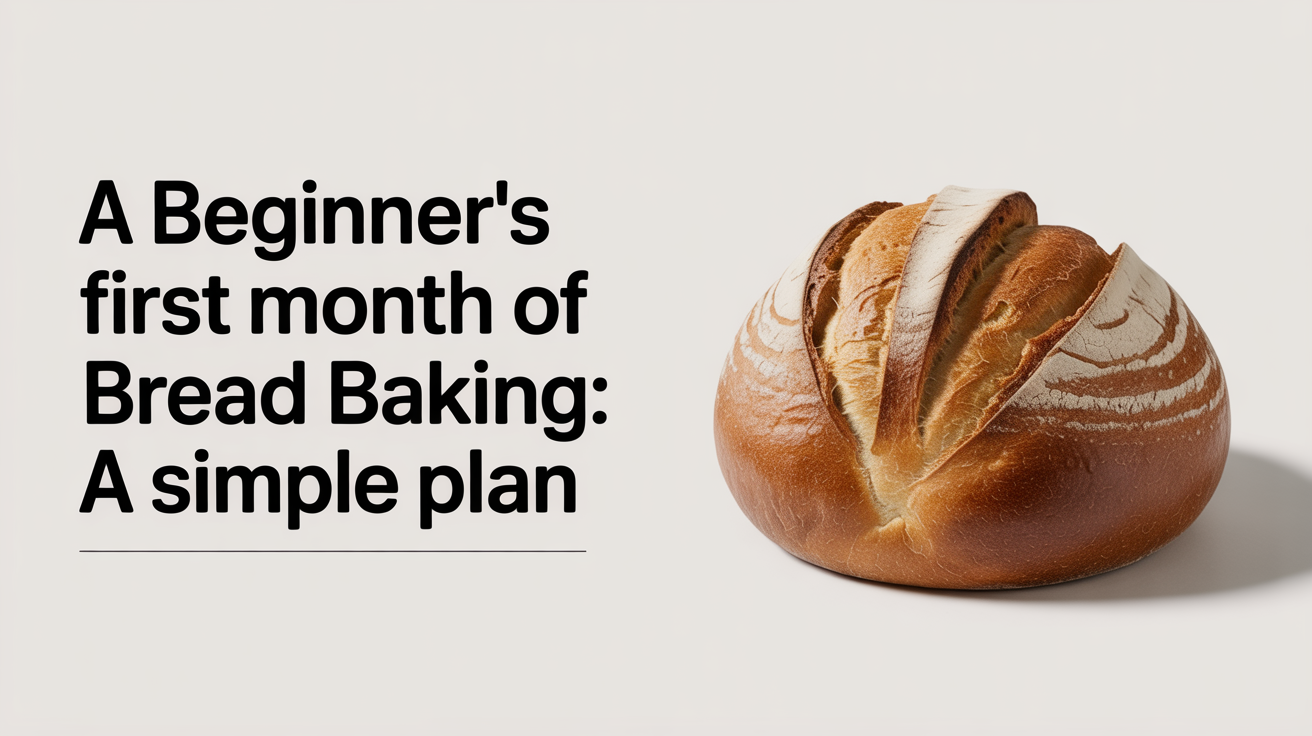
A four-week bread baking plan for beginners. Go from no-knead boule to sourdough starter, one skill at a time, with measurements in grams and cups.
Four weeks is enough time to go from complete beginner to someone who can bake a real loaf of bread with confidence. This bread baking plan for beginners builds one skill each week so nothing feels like a leap.
Why a Structured Plan Works
When you learn to bake bread without a plan, it is easy to jump to something complicated too quickly and get discouraged. Sourdough is appealing, but it rewards the baker who already understands how dough behaves. The beginner bread schedule below adds one new variable each week, so every bake reinforces what came before.
The sequence follows a simple logic: start with the method that requires the least skill, then layer in technique. By week four you have the hands-on experience to handle sourdough without it feeling like a mystery. Nothing here is rigid. If week one goes well and you want to bake twice before moving on, do that.
Before You Start: What You Need
You do not need a stand mixer, a proofing box, or a shelf full of specialty flours. For this four-week plan, you need:
- A Dutch oven (at least 4 quarts / 3.8 liters), or any heavy oven-safe pot with a lid
- A large mixing bowl
- A kitchen scale (strongly recommended over cups for consistent results)
- An instant-read thermometer
- Plastic wrap or a clean shower cap to cover dough
- All-purpose flour, salt, and instant yeast
A scale is worth buying if you do not already own one. Flour measured by weight is consistent; cups vary depending on how packed the flour is. Both measurements appear throughout, but gram measurements get you more reliable results.
Before your first bake, read about the four ingredients in real bread and what each one does. Knowing what each ingredient contributes helps you troubleshoot when something goes wrong.
The Four-Week Plan at a Glance
| Week | Bread Type | Key Skill | Active Time |
|---|---|---|---|
| 1 | No-knead boule | Mixing wet dough, Dutch oven baking | 20 min + overnight rest |
| 2 | Kneaded sandwich loaf | Hand kneading, loaf pan shaping | 40 min + 3 hours |
| 3 | Enriched dinner rolls | Working with butter and eggs, even portioning | 45 min + 2.5 hours |
| 4 | Sourdough starter + simple loaf | Feeding a starter, reading fermentation signs | 10 min/day + bake day |
Aim to bake once or twice each week. Baking the same recipe twice in a row is one of the most useful things a beginner can do. The second loaf almost always turns out better than the first.
Week 1: No-Knead Bread
The no-knead method is the right starting point. There is no kneading, no special timing, and the Dutch oven does most of the work. The result is a rustic round loaf with a crackly crust.
No-knead bread: the easiest loaf to start with walks through the full recipe, but here is the outline:
- 430 g (3 1/2 cups) all-purpose flour
- 1/4 tsp instant yeast
- 1 1/2 tsp salt
- 345 g (1 1/2 cups) water, room temperature
Mix until no dry flour remains, cover, and leave at room temperature for 12 to 18 hours. The long, slow rise does the work that kneading would normally do.
What you are learning this week: How wet dough behaves. The mixture will look shaggy and sticky. That is correct. This week also shows you what a properly proofed loaf looks like before it goes into the oven.
Watch for: Overproofing if your kitchen is warm (above 75 F / 24 C). Cut the rest time to 10 hours in a warm kitchen and check whether the dough has roughly doubled.
Week 2: A Kneaded Sandwich Loaf
After a no-knead bread, a sandwich loaf is a meaningful step up. The dough is stiffer, you knead it by hand, and you shape it into a pan. This is the week you develop a feel for what developed gluten actually means.
A basic sandwich loaf uses:
- 480 g (4 cups) all-purpose or bread flour
- 7 g (2 1/4 tsp) instant yeast
- 10 g (1 3/4 tsp) salt
- 300 g (1 1/4 cups) warm water (about 100 F / 38 C)
- 15 g (1 tbsp) olive oil or neutral oil (optional, for a softer crumb)
Knead by hand for 8 to 10 minutes. The dough should shift from rough and sticky to smooth and slightly tacky. The windowpane test tells you when gluten is ready: stretch a small piece gently between your fingers. If it stretches thin enough to let light through without tearing, it is done.
What you are learning this week: Hand kneading technique, shaping a loaf pan loaf, and the visual cues for a first and second rise.
Watch for: Stopping too early. If you under-knead, the crumb will be dense and tear rather than slice cleanly. When in doubt, knead for two more minutes.
Scoring Before the Oven
Once shaped and in the pan, let the loaf rise until it crowns about 1 inch (2.5 cm) above the rim. Slash the top with a sharp knife before baking. This controls where the bread opens as it expands. Without a score, the loaf may burst on the side instead of the top.
Bake at 375 F (190 C) for 30 to 35 minutes, until the internal temperature reads 200 F (93 C).
Week 3: Enriched Dough and Dinner Rolls
Enriched doughs contain fat and sometimes eggs, which makes them softer and richer. Dinner rolls are a good introduction because they are forgiving, the bake time is short, and the results are satisfying enough to keep you motivated.
A simple dinner roll dough:
- 360 g (3 cups) all-purpose flour
- 7 g (2 1/4 tsp) instant yeast
- 6 g (1 tsp) salt
- 200 g (3/4 cup plus 1 tbsp) warm whole milk
- 30 g (2 tbsp) unsalted butter, softened
- 1 egg (about 50 g)
- 15 g (1 tbsp) sugar
Mix and knead for 8 minutes, then let rise until doubled. Divide into 12 equal pieces (about 55 g each), shape into smooth balls, and place in a greased 9x13 pan. Let rise again until puffy and touching, then bake at 375 F (190 C) for 18 to 22 minutes until golden.
What you are learning this week: How fat changes dough feel, how to divide and shape evenly, and how enrichment affects bake time. Enriched doughs brown faster, so check color and internal temperature rather than relying solely on the clock.
Watch for: Cold butter from the fridge. Soft butter blends in much more easily. Cold chunks take longer to incorporate and the dough will look greasy before it smooths out.
Week 4: Starting Sourdough
By week four you have handled wet dough, kneaded stiff dough, and worked with enriched dough. You are ready to start a sourdough starter and bake your first naturally leavened loaf.
Sourdough relies on wild yeast and bacteria rather than commercial yeast, which means you need to build a culture before you can bake. Start your starter on day one of week four so it has five to seven days to become active.
Building Your Starter
- Day 1: Mix 50 g (about 1/4 cup) whole wheat or rye flour with 50 g (3 1/2 tbsp) room-temperature water in a jar. Cover loosely and leave at room temperature.
- Days 2 to 5: Once a day, discard all but about 50 g of starter, then feed with 50 g all-purpose flour and 50 g water.
- By day 5 to 7: The starter should be predictably rising and falling, with bubbles throughout. It is ready to bake with when it reliably doubles in size within four to eight hours of feeding.
For your first sourdough loaf, use a simple recipe with 75% hydration. See how to bake your first loaf of bread: a complete beginner's guide for the full process, including shaping and scoring a round boule.
What you are learning this week: How to read fermentation activity and why temperature matters so much for sourdough timing.
Watch for: Baking before the starter is ready. A starter that smells like nail polish remover or acetone is hungry; feed it and wait another day. A ready starter smells pleasantly sour and slightly yeasty.
Frequently Asked Questions
Do I need to follow the weeks in order? The order is deliberate. Each week builds on the previous one. If you skip to sourdough without kneading experience, the process will feel harder than it needs to be. If you have already baked sandwich loaves before, start at week three.
Can I use active dry yeast instead of instant? Yes. Proof active dry yeast in warm water (100 to 110 F / 38 to 43 C) for five minutes before mixing. Use the same quantity as instant yeast. The two are interchangeable in most recipes once the active dry is proofed.
My dough is sticking to everything. Is that normal? Sticky dough is normal, especially in weeks one and three. Resist adding more flour; it makes the final loaf denser. Lightly oil your hands or the work surface instead. Dough gets easier to handle as gluten develops.
How do I know when bread is fully baked? An internal temperature of 200 F (93 C) for lean doughs (no eggs or butter) and 190 F (88 C) for enriched doughs is a reliable target. Tapping the bottom of the loaf for a hollow sound works but is less precise than a thermometer.
What if my sourdough starter does not seem active after a week? Move it somewhere warmer. Starters are slow below 70 F (21 C). A spot near the oven or on top of the refrigerator can add five to ten degrees. If there is still no activity after ten days, start fresh with whole wheat flour and filtered water in a clean jar.