Getting Started
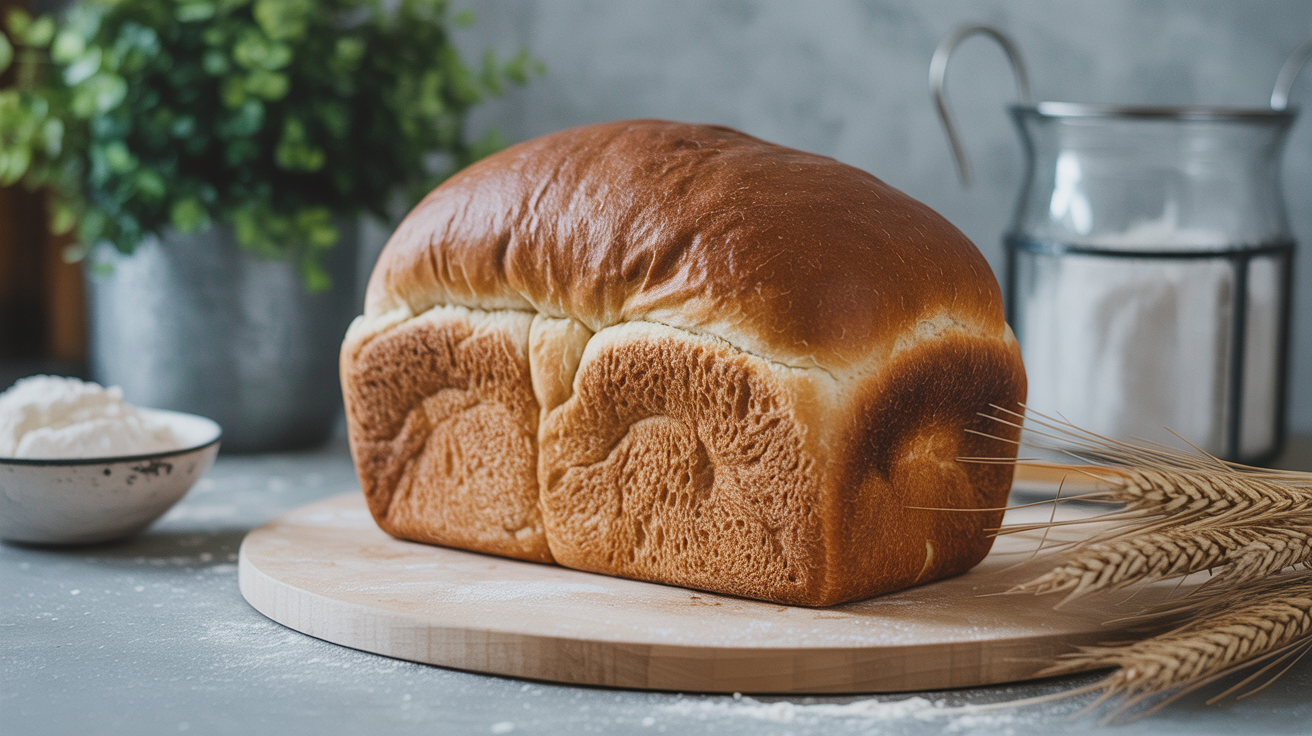
How to Bake Your First Loaf of Bread: A Complete Beginner's Guide
Learn how to make bread for beginners with this step-by-step guide covering ingredients, kneading, rising, shaping, and baking your first loaf.
Baking your first loaf of bread is one of those kitchen experiences that sticks with you. The smell alone is worth it. If you've been putting it off because it seems complicated, this guide will walk you through the whole process from flour to finished loaf, with nothing glossed over.
Learning how to make bread for beginners comes down to understanding a handful of steps and why they matter. Once you've done it once, the second loaf feels easy. Here's everything you need.
What You Need Before You Start
You don't need much equipment for how to bake bread at home. A large mixing bowl, a baking sheet or loaf pan, a clean surface for kneading, and an oven that holds temperature reliably. A digital kitchen scale makes a real difference for accuracy, but cups work fine for a first attempt.
For this basic white sandwich loaf, here's the recipe:
| Ingredient | Grams | Cups / Teaspoons |
|---|---|---|
| Bread flour (or all-purpose) | 400 g | 3 1/4 cups |
| Warm water (about 38°C / 100°F) | 260 g | 1 cup + 2 tbsp |
| Instant yeast | 7 g | 2 1/4 tsp (1 packet) |
| Salt | 8 g | 1 1/2 tsp |
| Sugar (optional, helps browning) | 10 g | 2 tsp |
| Neutral oil or softened butter | 15 g | 1 tbsp |
Total active time: about 25 minutes Total elapsed time: 3 to 3.5 hours (most of it is hands-off rising) Oven temperature: 190°C / 375°F (standard loaf pan) or 220°C / 425°F (freeform on a baking sheet)
If you want to understand why each of these four ingredients plays such a specific role, the four ingredients in real bread and what each one does goes into real detail on the chemistry without overcomplicating it.
Mixing the Dough
Start with the water. It needs to be warm but not hot. Too cold and the yeast won't activate; too hot (above 49°C / 120°F) and you'll kill it. If you don't have a thermometer, run the water until it feels like a comfortable shower, not a hot one.
Add the yeast and sugar to the warm water. Stir gently and let it sit for 5 minutes. If it starts to look foamy or cloudy, the yeast is alive and ready. If nothing happens after 10 minutes, the water was too hot or the yeast is old. Start over with fresh yeast before wasting the flour.
Add the flour and salt to a large bowl. Pour in the yeast mixture and the oil. Stir with a wooden spoon or your hand until no dry flour remains. The dough will look rough and shaggy at this point. That's normal.
Kneading: What It Does and When to Stop
Kneading builds gluten, the stretchy protein network that traps gas bubbles from the yeast and gives bread its structure. Without it, the dough won't hold its shape and the loaf will be dense.
Turn the dough out onto a lightly floured surface. Push it away from you with the heel of your hand, fold it back toward you, rotate it a quarter turn, and repeat. It helps to think of it as stretch-fold-rotate rather than just punching. Keep going for 8 to 10 minutes.
You'll know the dough is ready when it feels smooth and slightly tacky (not sticky) and springs back slowly when you poke it. A quick check: stretch a small piece between your fingers. If it stretches thin enough to see light through without tearing, the gluten is developed. Bakers call this the windowpane test.
If the dough keeps sticking to the counter, add flour a tablespoon at a time. Don't go overboard; a slightly sticky dough makes a better loaf than a dry, stiff one.
If you'd prefer to skip kneading entirely for your very first attempt, no-knead bread is the easiest loaf to start with and produces a genuinely good result with almost no technique required.
The First Rise (Bulk Fermentation)
Shape the kneaded dough into a ball and place it in a lightly oiled bowl. Turn it once so the surface is coated. Cover the bowl with plastic wrap or a damp kitchen towel and leave it somewhere warm.
The dough needs to roughly double in size. At room temperature (around 22°C / 72°F), this takes about 1 to 1.5 hours. In a warmer spot, it goes faster; in a cooler kitchen, it takes longer. The actual time matters less than the size: wait for the double.
A common beginner question is whether the rise is happening at all. If your kitchen is cold, you can put the bowl in an oven with just the light on (no heat), or near a warm appliance. Don't rush it with high heat.
Shaping the Loaf
Once the dough has doubled, gently punch it down to release the trapped gas. Turn it out onto a lightly floured surface.
For a loaf pan: flatten the dough into a rough rectangle about as wide as your pan. Roll it up tightly from one short end, pinch the seam closed, and place it seam-side down in a greased loaf pan (roughly 23 x 13 cm / 9 x 5 inch).
For a freeform round loaf on a baking sheet: fold the edges of the dough toward the center, then flip it over and use your hands to pull the surface taut by dragging it lightly toward you across the counter. Place it smooth-side up on a parchment-lined baking sheet.
Good shaping matters. A tight, well-formed shape gives the loaf something to push against as it rises, which creates better structure and a more open crumb.
The Second Rise (Proofing)
Cover the shaped loaf loosely and let it rise again. This time you're looking for it to puff noticeably, roughly 45 minutes to 1 hour. It won't double the way the first rise does, but it should look clearly larger and feel airy when you gently touch the surface.
While the dough proofs, preheat your oven. Give it at least 20 to 30 minutes to fully come to temperature; a cold oven ruins the spring you'd otherwise get in the first minutes of baking.
Baking and Knowing When It's Done
Slide the loaf into the oven. If you're using a loaf pan, bake at 190°C / 375°F for 30 to 35 minutes. For a freeform loaf on a baking sheet, use 220°C / 425°F for 25 to 30 minutes.
The crust should be a deep golden brown. Pale bread is often underbaked even if the timer has gone off. The most reliable check: tap the bottom of the loaf. A hollow thump means the interior has finished cooking. If it sounds dense and thuddy, give it another 5 minutes.
A digital thermometer reads 93 to 96°C (200 to 205°F) at the center of a fully baked loaf, if you want a precise answer.
Let the loaf cool on a wire rack for at least 30 minutes before cutting it. Bread is still finishing internally as it cools, and cutting too early gives you a gummy, collapsed crumb even if the crust looks right.
Common Mistakes on a First Bake
Yeast that doesn't proof. Check the water temperature and the yeast expiry date. This is the most common reason a first loaf doesn't rise at all.
Dough that's too stiff. This usually comes from adding too much flour during kneading. Sticky dough is easier to fix than dry dough; a little oil on your hands helps you work with it without adding more flour.
A dense, heavy crumb. Usually caused by under-proofing (not waiting long enough), over-kneading (rare by hand), or flour that's past its prime. Fresh flour and patient rising fix most density problems.
A flat top that doesn't dome. This often means the dough over-proofed and ran out of gas before the oven could set it. The fix is to watch the dough, not the clock.
If you want to go further without any equipment at all, how to make bread by hand without any special equipment covers the stripped-down version and what you can improvise when you're just getting started.
Frequently Asked Questions
Can I use all-purpose flour instead of bread flour?
Yes. All-purpose flour has slightly less protein than bread flour, so the gluten network won't be quite as strong, but you'll still get a good loaf. The crumb will be a little softer and the crust slightly less chewy, which many beginners actually prefer.
How do I know if my yeast is still good?
Proof it before mixing. Stir it into warm water with a pinch of sugar and wait 5 to 10 minutes. Active, living yeast will produce visible foam or bubbling. If nothing happens, the yeast is dead. Instant yeast has a longer shelf life than active dry but still degrades after the package is opened; store it in the fridge or freezer after opening.
My dough didn't rise much. What went wrong?
The most likely cause is yeast that's old or was killed by water that was too hot. Another possibility is a kitchen that's too cold, which slows fermentation dramatically without stopping it. Try moving the bowl somewhere warmer and giving it more time. If it hasn't moved at all after 2 hours, the yeast is the problem.
Can I make easy homemade bread the night before?
Yes, and it often comes out better. After the first rise, shape the loaf, cover it tightly, and refrigerate it overnight. Pull it out in the morning, let it sit at room temperature for about an hour to take the chill off, then bake. The slow cold proof develops more flavor. This also lets you time the bake for when you want the bread ready.
How do I store homemade bread?
A cut loaf keeps best stored cut-side down on a wooden cutting board or loosely wrapped in a cloth bag at room temperature for 2 to 3 days. Avoid plastic bags for the first day; they trap moisture and soften the crust. For longer storage, slice and freeze the whole loaf and pull out slices as needed.