Yeasted Breads
Homemade Pizza Dough: A Simple Step-by-Step Guide
Make homemade pizza dough from scratch with this beginner-friendly guide. Simple ingredients, clear steps, and tips for a crispy, chewy crust.
Making pizza dough from scratch is one of the most rewarding things you can do in a home kitchen. The ingredients are cheap, the process is forgiving, and the result beats anything from a tube or a box. This guide walks you through an easy pizza dough recipe that works for same-day baking or a slow cold ferment for deeper flavor.
You only need flour, water, salt, yeast, and about ten minutes of hands-on time. Everything else is waiting.
The Recipe
This formula makes two 280g dough balls, enough for two 12-inch pizzas. Hydration sits around 62%, which is easy to handle and still gives you a chewy, open crumb.
| Ingredient | Grams | Approximate Cup / Tsp |
|---|---|---|
| Bread flour (or 00 flour) | 400g | 3 1/4 cups |
| Water, room temp | 248g | 1 cup + 2 tbsp |
| Fine sea salt | 9g | 1 1/2 tsp |
| Instant yeast | 4g | 1 1/4 tsp |
| Olive oil (optional) | 12g | 1 tbsp |
| Sugar (optional) | 5g | 1 tsp |
A note on flour: Bread flour (12-14% protein) gives you the chew and structure you want. Italian 00 flour is finely milled and produces a silky, slightly more tender crust. Both work. All-purpose flour is a fine substitute in a pinch, but the texture will be a little softer and less chewy.
The olive oil makes the dough slightly more pliable and helps browning. The sugar feeds the yeast and also nudges the crust toward a bit more color. Neither is required.
Steps
- Whisk the dry ingredients (flour, salt, yeast, sugar if using) together in a large bowl.
- Add the water and olive oil. Mix until a shaggy dough forms, then tip it onto a clean counter.
- Knead for 8-10 minutes until the dough is smooth and springs back when you poke it. It will feel slightly tacky but should not stick to your hands.
- Round the dough into a ball, place it back in the bowl (lightly oiled), cover with plastic wrap or a damp towel, and let it rise until doubled. At room temperature (68-72°F), that takes about 1.5 to 2 hours.
- Once risen, divide and ball (see below), then rest before stretching.
If you are already comfortable with yeasted doughs, this process is very similar to what you would do for soft sandwich bread, just with a stiffer mix and a shorter knead time.
Same-Day vs. Cold-Fermented Dough
You can bake the same day or refrigerate the dough for up to 72 hours. Both are good. They just taste different.
Same-day dough is mild and a little bready. It works well when you want pizza on a weeknight without planning ahead. The gluten is strong enough after the countertop rise, and the crust bakes up fine.
Cold-fermented dough is noticeably better. When the dough sits in the fridge for 24 to 72 hours, the yeast works slowly and produces a wider range of organic acids and flavor compounds. The crust comes out more complex, with a faint tang and a better aroma. If you have the time, make the dough the night before (or even two nights before) and let it ferment in the fridge. Take it out about an hour before you plan to stretch it so it can come back to room temperature.
Cold fermentation also makes the dough easier to stretch. The gluten relaxes more over a long rest, so the dough cooperates instead of snapping back at you.
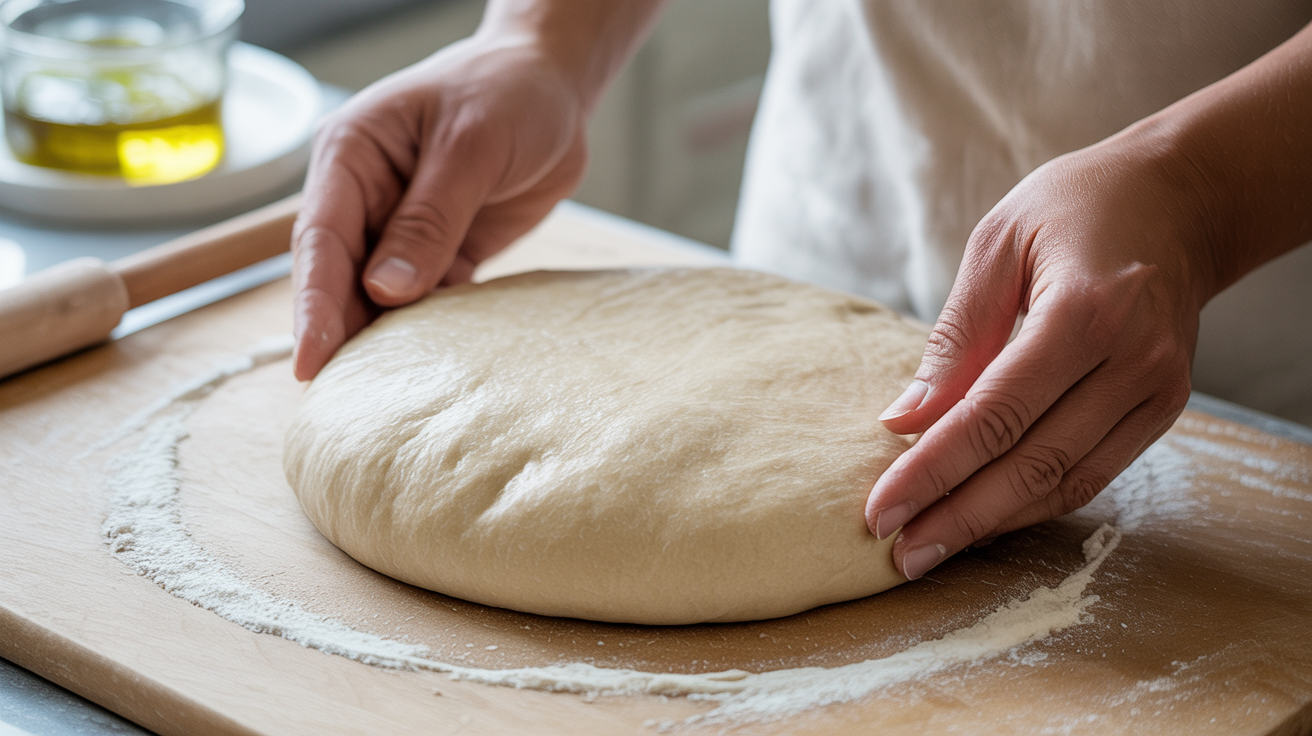
Dividing and Balling
After the bulk rise (or when you pull the dough from the fridge), turn it out onto an unfloured surface and divide it into two equal pieces with a bench scraper or knife. Each piece should weigh around 280g.
To ball each piece: fold the edges underneath toward the center, then flip it over so the seam is on the bottom. Cup your hand over the dough and drag it toward you with a light downward pressure. The friction against the counter will pull the surface tight. Do this a few times until you have a taut, smooth ball.
Place the balls on a lightly oiled tray, cover loosely with plastic wrap, and let them rest for at least 30 minutes before stretching. This rest is not optional. The gluten needs to relax or the dough will keep pulling back when you try to open it up.
This same balling technique applies to dinner rolls too, if you want to practice on a more forgiving dough first.
Stretching by Hand
Skip the rolling pin. A rolling pin presses out all the gas bubbles the yeast spent hours creating, and it gives you a flat, cracker-like result instead of a light, airy crust.
Stretching by hand is easier than it looks once you do it a couple of times.
- Flour your work surface lightly. Press the dough ball into a flat disc with your fingertips, working from the center outward. Leave a 1-inch rim untouched.
- Pick the disc up and lay it over your knuckles (both hands, loose fists). Let gravity do most of the work. Slowly rotate the dough while it drapes and stretches from its own weight.
- If the dough tears, press the edges of the tear together and let the dough rest on the counter for 5 minutes. The gluten will relax and you can continue.
- Aim for a 12-inch round, roughly 1/4 inch thick in the center and thicker at the rim.
It will not be a perfect circle. That is fine. Irregular shapes bake just as well and look more honest.
Baking as Hot as Your Oven Goes
This is the single most important tip in the whole guide: heat matters more than technique. Neapolitan pizzerias bake at 900°F in a wood-fired oven. Your home oven probably tops out at 500-550°F. Get it there.
Preheat your oven with a baking steel or pizza stone inside for at least 45-60 minutes before you bake. The steel or stone absorbs a huge amount of heat and transfers it directly to the bottom of the crust, which is what gives you that crisp underside.
If you do not have a steel or stone, use an inverted heavy baking sheet. It will not hold heat as well, but it is better than a cold pan.
Baking guide:
| Setup | Temperature | Bake Time |
|---|---|---|
| Baking steel | 500-550°F (260-290°C) | 6-9 minutes |
| Pizza stone | 500-550°F (260-290°C) | 8-12 minutes |
| Inverted baking sheet | 475°F (245°C) | 12-15 minutes |
Top the pizza on a well-floured pizza peel (or on the back of a sheet pan), then slide it onto the preheated surface. The pizza should move freely before you try to launch it. If it sticks, slide your peel back and forth underneath to loosen it, or add a bit more flour.
Watch the crust, not the clock. You want the rim puffed and spotted dark brown, the cheese bubbling, and the bottom firm and browned when you lift an edge with a spatula.
A very similar approach works for focaccia, which also benefits from a long, relaxed ferment and a very hot oven.
Frequently Asked Questions
Can I use active dry yeast instead of instant?
Yes. Use the same amount. Active dry yeast needs to be dissolved in warm water (around 100-110°F) for 5-10 minutes before you mix the dough. Instant yeast can be added directly to the dry ingredients. Either works; the rise time will be nearly the same.
Why does my dough keep snapping back when I try to stretch it?
The gluten is too tight. Let the dough ball rest on the counter, uncovered, for another 10-15 minutes and try again. If it keeps snapping back after that, the dough may be under-fermented. Give it more time on the counter before stretching.
How do I store leftover dough?
Place the balled dough in a lightly oiled zip-top bag or covered container and refrigerate for up to 3 days. You can also freeze it for up to 3 months. Defrost frozen dough overnight in the fridge, then let it come to room temperature before stretching.
What is the difference between pizza dough made with bread flour and 00 flour?
Bread flour gives you a chewier, slightly more rustic crust. 00 flour is more finely milled and absorbs water a bit differently, producing a softer, more delicate texture. Both are correct choices. If you want to experiment, try each flour with the same recipe and see which crust you prefer.
Do I need to add oil and sugar?
No. Many classic pizza doughs skip both. Oil makes the dough softer and more extensible, and it helps the crust brown. Sugar accelerates browning and adds a very faint sweetness. If you leave them out, the dough is still completely functional. Start without them, then add one at a time in future batches if you want to see what changes.