Yeasted Breads
How to Make Focaccia: A Foolproof Beginner's Recipe
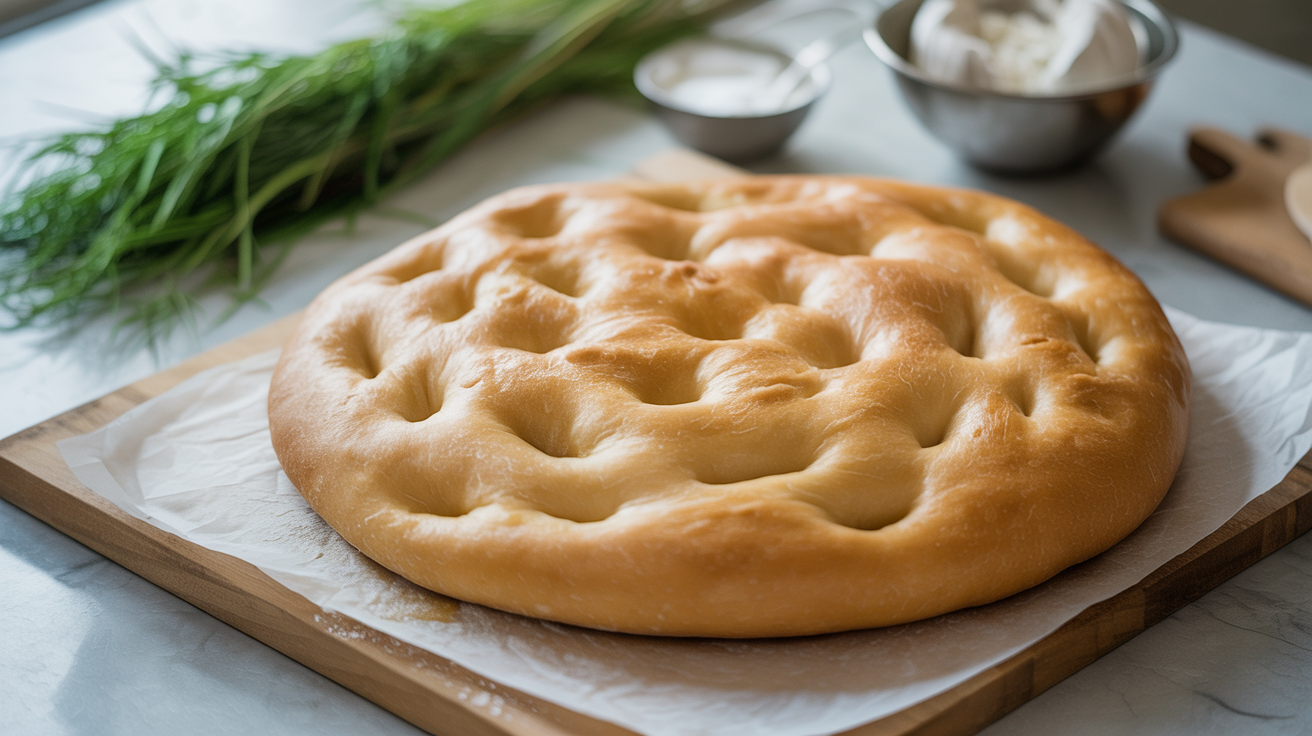
Learn how to make focaccia with this beginner-friendly, no-knead recipe. Crispy bottom, pillowy top, and done in one bowl.
Focaccia is the bread to make when you're just getting started with yeast. The dough is sticky and wet, and that's exactly how it's supposed to be. You don't knead it, you don't shape it into a tight boule, and you don't stress over it. You mix, rest, dimple, drench in olive oil, and bake. That's the whole thing.
This focaccia recipe for beginners walks you through every step, including an optional overnight cold rise that makes the flavor noticeably better with almost no extra effort. If you've already tried something like soft sandwich bread and want something even more hands-off, this is it.
The Recipe at a Glance
This easy focaccia bread uses a high-hydration dough (around 80%), which gives you that open, airy crumb and the characteristic soft, almost bouncy texture. The high water content is what makes it a no knead focaccia: there's simply too much water for traditional kneading to work, and the gluten develops on its own during the long rest.
Pan size: 9x13-inch rimmed baking pan (or a half-sheet pan for a thinner focaccia) Oven temp: 425-450°F (220-230°C) Total time: 3-4 hours same-day, or 12-16 hours with overnight cold rise
Ingredients
| Ingredient | Grams | Cups / Tsp |
|---|---|---|
| Bread flour (or all-purpose) | 500g | 4 cups |
| Warm water (90-100°F) | 400g | 1 3/4 cups |
| Active dry yeast | 7g | 2 1/4 tsp (1 packet) |
| Fine salt | 10g | 1 3/4 tsp |
| Olive oil, for the dough | 30g | 2 tbsp |
| Olive oil, for the pan and top | 60-80g | 4-5 tbsp |
| Flaky sea salt, for finishing | to taste | to taste |
If you have bread flour, use it. The higher protein gives you better structure in a wet dough. All-purpose works fine, though the crumb will be slightly less chewy.
Mixing the Dough
Start by proofing your yeast. Combine the warm water and yeast in a large bowl and let it sit for 5-10 minutes. You're looking for a bit of foam or cloudiness, which tells you the yeast is active. Cold tap water won't wake the yeast up properly, and boiling water will kill it. Aim for the temperature of a warm bath.
Once the yeast looks lively, add the olive oil and salt, then stir in the flour. Use a fork or your hands to mix until there's no dry flour left. The dough will look shaggy, sticky, and generally unpromising. That's right.
Cover the bowl with plastic wrap or a damp kitchen towel and let it rest for 30 minutes.
Stretch and Fold (No Kneading Required)
After the first rest, do four sets of stretch and folds over the next hour. To do one set: wet your hand, grab one edge of the dough, stretch it up as far as it'll go without tearing, then fold it over the center. Rotate the bowl 90 degrees and repeat three more times.
Do this four times total, spacing each set about 15-20 minutes apart. Between sets, re-cover the bowl. The dough will smooth out and get more elastic as you go.
The Rise (Same-Day or Overnight)
After your stretch and fold sets, you have two paths.
Same-day rise: Leave the covered bowl at room temperature for 1.5-2 hours until the dough has roughly doubled and looks bubbly.
Overnight cold rise (recommended): Put the covered bowl straight in the fridge after the last stretch and fold. Leave it overnight, up to 18 hours. Pull it out 1-2 hours before you want to bake so it can warm up a bit. The cold fermentation develops more flavor, and the timing flexibility is useful.
The overnight method is the one most home bakers settle on once they've made focaccia a couple of times. It also means less waiting on the day you actually want to eat it.
Panning and the Second Rise
Pour 3-4 tablespoons of olive oil into your 9x13 pan. Tip the dough in. Use your fingers to gently stretch and press it toward the edges, working carefully so you don't tear it. If it springs back stubbornly, let it rest uncovered for 10 minutes and try again. The gluten just needs a moment to relax.
Once the dough is mostly filling the pan (it doesn't have to reach the corners perfectly), cover it loosely with plastic wrap or a clean towel and let it rest for 45-60 minutes. It should puff up, look airy, and jiggle when you move the pan.
Dimpling
This is the step everyone talks about, and it's genuinely satisfying. Press your fingers firmly down into the dough, going almost to the bottom of the pan. Work across the whole surface, making deep, close-set dimples. Don't be shy. The dimples aren't just decorative; they trap the olive oil that goes on next.
Drizzle the remaining 1-2 tablespoons of olive oil generously over the top, making sure it pools in the dimples. Scatter flaky sea salt over everything.
Now add any toppings you like. Rosemary is the classic: press a few sprigs into the dough and it gets crispy and fragrant in the oven. Sliced olives, cherry tomatoes, thinly sliced onion, or a few cloves of garlic all work well. Keep toppings simple and press them lightly into the surface so they don't roll off.
Baking
Place the pan on the lower-middle rack of a preheated 425-450°F oven. Bake for 22-28 minutes. You want the top golden brown (not pale, not dark) and, crucially, a crispy bottom. At around 20 minutes, carefully lift one corner with a spatula to check. If the underside looks pale, give it another 5 minutes.
When it's done, let it cool in the pan for 5-10 minutes, then slide it onto a wire rack. Cutting it while it's still very hot can make the crumb gummy. Ten minutes is usually enough.
Focaccia is best the day it's made, but it keeps well wrapped at room temperature for a day or two. To refresh it, a few minutes in a 350°F oven brings the bottom back to crispy.
Once you're comfortable with the process here, you'll notice that the same feel for dough carries over to other projects. The way a proofed, airy dough moves when you press into it shows up in homemade dinner rolls too, just in a stiffer form. And the wet, oiled handling you use here is not far off from working with simple pizza dough.
Frequently Asked Questions
Can I use all-purpose flour instead of bread flour?
Yes. The focaccia will be slightly softer and a bit less chewy, but it bakes up fine. Many home bakers make excellent focaccia with all-purpose flour their whole lives.
Why is my focaccia dough so sticky?
Because it's supposed to be. An 80% hydration dough has a lot of water relative to flour, and it won't behave like a standard bread dough. Wet your hands when you handle it, use a bowl scraper to move it around, and resist the urge to add more flour. The stickiness is what creates the open crumb.
Can I make focaccia without a 9x13 pan?
A half-sheet (18x13) pan gives you a thinner, crispier result. A 9x9 or 8x8 pan gives you a taller, bread-like focaccia. Cast iron works well too and gives you a particularly crisp bottom. Just adjust baking time by a few minutes depending on thickness.
How do I know when the focaccia is done?
The top should be deep golden brown and the bottom should feel firm and sound hollow when tapped. If you have an instant-read thermometer, the interior should read around 200°F. Pale focaccia means it needs more time; it can look deceptively golden on top while the bottom is still soft.
Can I make this dough ahead of time?
The overnight cold rise in the fridge (covered, before panning) is the most practical make-ahead option. You can also pan the dough, cover it tightly, and refrigerate it for up to 8 hours before the second rise and bake. Pull it out, let it warm up for an hour, then dimple, oil, and bake as normal.